Table of Contents
ToggleQuickBooks is a powerful accounting software trusted by businesses worldwide. With the recent addition of AI Assist features, many users have experienced both improvements and challenges in how they interact with the platform. While some appreciate the automation and predictive suggestions, others prefer manual control and privacy over automation. If you’re among the users wondering how to turn off AI Assist in QuickBooks, you’re in the right place.
This guide will provide a comprehensive, step-by-step breakdown of disabling AI features in both QuickBooks Online and Desktop versions to ensure a smoother, more customized user experience.
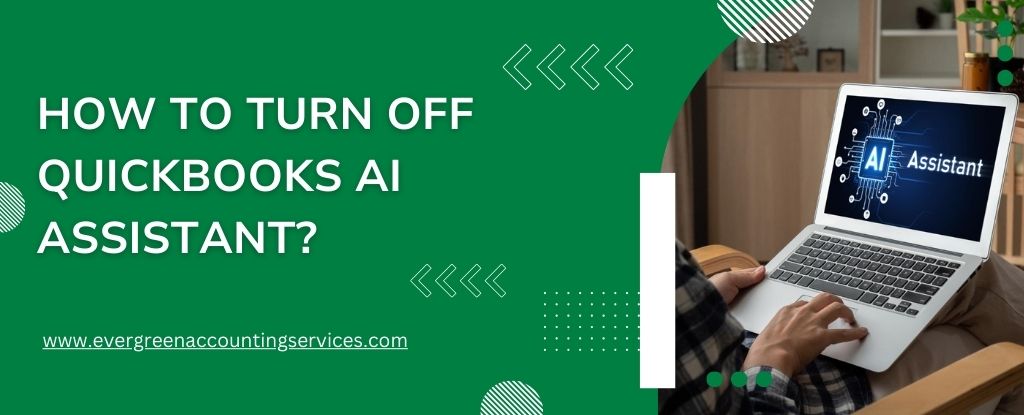
What Is AI Assistant in QuickBooks?
Before disabling it, it’s important to understand what AI Assist actually does in QuickBooks. This feature uses machine learning and artificial intelligence to:
- Predict and autofill transactions
- Offer financial insights and suggestions
- Categorize expenses automatically
- Provide automated summaries and alerts
While beneficial for some, this level of automation can feel invasive or unnecessary for others, especially when accuracy is paramount.
Why Disable AI Assistant in QuickBooks?
Here are several reasons users choose to disable this feature:
- Data Privacy: Some users prefer not to have machine learning analyze their financial data.
- Control: Manual input gives greater control over categorization and data interpretation.
- Accuracy: AI can miscategorize or provide suggestions that do not align with business rules.
- Simplification: Some prefer a cleaner, simpler interface without prompts or auto-completion.
How to Turn Off AI Assist in QuickBooks Online?
QuickBooks Online users can follow these detailed steps to turn off AI Assist features:
Step 1: Log In to QuickBooks Online
- Go to https://quickbooks.intuit.com
- Enter your credentials and log in to your account.
Step 2: Access Settings
- In the top right corner, click on the Gear Icon ⚙️.
- From the dropdown menu, select Account and Settings.
Step 3: Navigate to the Advanced Tab
- Within Account and Settings, click on the Advanced tab on the left-hand menu.
- Scroll down to find options related to automation, suggestions, or AI features.
Step 4: Turn Off Suggested Features
You’ll find several options that relate to automation, such as:
- Pre-fill forms with previously entered content
- Automatically categorize transactions
- AI-generated insights and alerts
Toggle each of these options to OFF.
Step 5: Save Changes
- Scroll to the bottom and click Save.
- You may need to refresh the page or log out and back in for the changes to fully apply.
How to Disable AI Assist in QuickBooks Desktop?
QuickBooks Desktop users face a slightly different process. Here’s how to disable AI-related features:
Step 1: Open QuickBooks Desktop
Launch QuickBooks Desktop and open the company file you wish to configure.
Step 2: Access Preferences
- Go to the Edit menu at the top.
- Choose Preferences from the dropdown list.
Step 3: Disable Automation Features
In the Preferences window:
- Navigate to the General category on the left.
- Look for options like “Automatically remember account or transaction information” and uncheck it.
- Go to Accounting or Reports & Graphs to uncheck features related to predictive insights or auto-suggestions.
Step 4: Disable Bank Feeds AI Learning (If Applicable)
If you use Bank Feeds:
- Go to Banking > Bank Feeds > Bank Feeds Center.
- Click on your bank account and select Settings.
- Disable any options mentioning AI learning or automatic categorization.
Step 5: Save and Exit
Click OK or Apply in each Preferences window to save the changes.
How to Prevent AI Assist from Re-Enabling?
Even after disabling, some settings may revert after updates or system changes. Here’s how to prevent that:
Disable Auto-Update Features
In QuickBooks Online:
- Navigate to Gear Icon > Account and Settings > Advanced.
- Turn off options for automatic updates or feature rollouts.
In QuickBooks Desktop:
- Go to Help > Update QuickBooks Desktop > Options.
- Set the updates to Manual and disable shared settings across users.
Clear Browser Cache Regularly (Online Only)
Sometimes cached data causes AI features to appear active even after they’re turned off. Clear your browser cache regularly or use Incognito Mode to test.
How to Contact Intuit Support to Disable AI Features?
If manual deactivation does not fully disable AI suggestions or if the interface changes due to an update, you can contact Intuit Support directly:
- Visit QuickBooks Support
- Use Live Chat or call their support line for manual deactivation by an Intuit representative.
Additional Tips to Maintain Manual Control in QuickBooks
- Turn off bank rules automation by going to Banking > Rules, then deactivating or deleting rules.
- Use manual categorization only — avoid “Auto-add” rules in QuickBooks Online.
- Customize dashboards to remove AI-powered widgets like insights or suggestions.
What Happens After AI Assist Is Disabled?
Disabling AI Assist will:
- Stop QuickBooks from making automatic categorizations
- Remove predictive text and smart suggestions
- Require more manual input, increasing control over records
- Simplify reports and reduce unexpected notifications
You’ll have a leaner, more customizable interface that suits businesses needing strict control over their accounting records.
Conclusion
For users who value precision, privacy, and customization, turning off AI Assist in QuickBooks is an essential step. By following the detailed steps above, businesses can remove unwanted automation and regain full control over how they manage their financial data. Whether you use QuickBooks Online or Desktop, disabling AI Assist ensures that your accounting remains in your hands, not the hands of an algorithm.

